Required section · Section 3 of 6
Focused instruction: prepare, allocate, and review
Prepare wedge and particle-crush smears promptly at the bedside to limit drying artifact and clotting. For a wedge smear, use a spreader at roughly 30 degrees, contact the drop, and push forward smoothly. For a particle crush, let the second slide's own weight flatten a particle-containing drop and draw the slides apart along their long axis. Downward pressure or lifting vertically ruptures cells and creates crush artifact.
Make touch imprints from the fresh, unfixed core before it enters validated fixative. Then place the core for processing and decalcification under the laboratory SOP. A practical adult core target is about 2 cm, but adequacy is not a universal length cutoff. Record aggregate length, fragments, intactness, and evaluable intertrabecular marrow space.
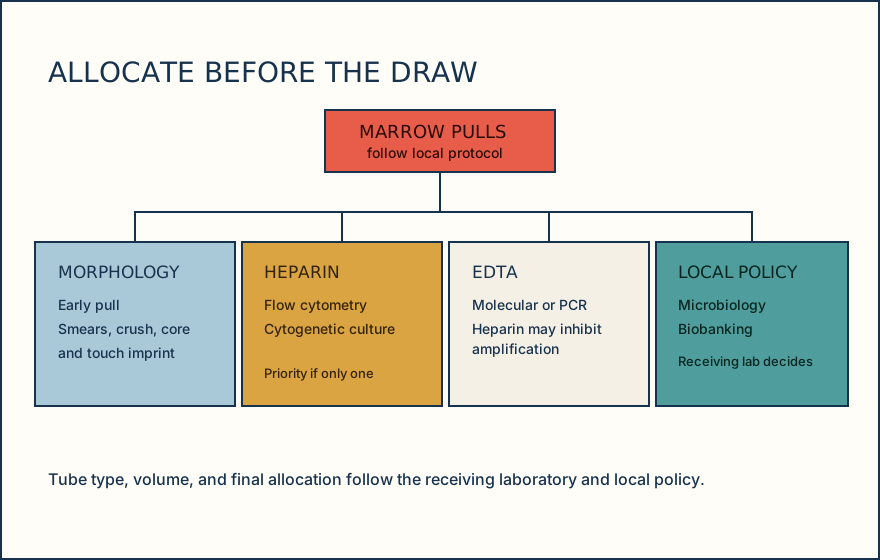
Allocate early material before the procedure begins because anticoagulant selection follows the requested test. Sodium heparin is generally used for flow cytometry and conventional cytogenetic culture, whereas EDTA is generally used for molecular or PCR-based testing: heparin can inhibit DNA polymerase and thereby prevent PCR amplification. If only one anticoagulated aliquot can be obtained and cytogenetics is needed, prioritize sodium heparin; collect a separate EDTA aliquot for molecular testing when required.
Estimate cellularity on representative core marrow space away from subcortical bone, comparing hematopoietic cells with fat. The traditional “100 minus age” estimate means an approximate expected cellularity percentage found by subtracting patient age in years from 100; it is only a broad teaching guide, not a release range. State the observed cellularity and its sampling limitation.
Illustrative drawing — this picture was drawn rather than captured.
Ordering exercise
Place these preparation steps in the order that protects morphology before the core is fixed.
1. Place core into validated fixative
Send the core for processing after its fresh cytology is preserved.
2. Allocate ancillary aliquots
Route anticoagulated material according to downstream testing and local policy.
3. Prepare aspirate smears
Make wedge and particle-crush preparations promptly at bedside.
4. Make touch imprint
Gently contact the fresh, unfixed core to a glass slide.
Knowledge checks
Reading and checks are open. Sign in only to save.
Knowledge check 1
Knowledge check 2
Knowledge check 3
Section status
Finish this section
Reading and checks are open. Sign in only to save.
The module finishes after every required section is marked done and every check in those sections is correct.